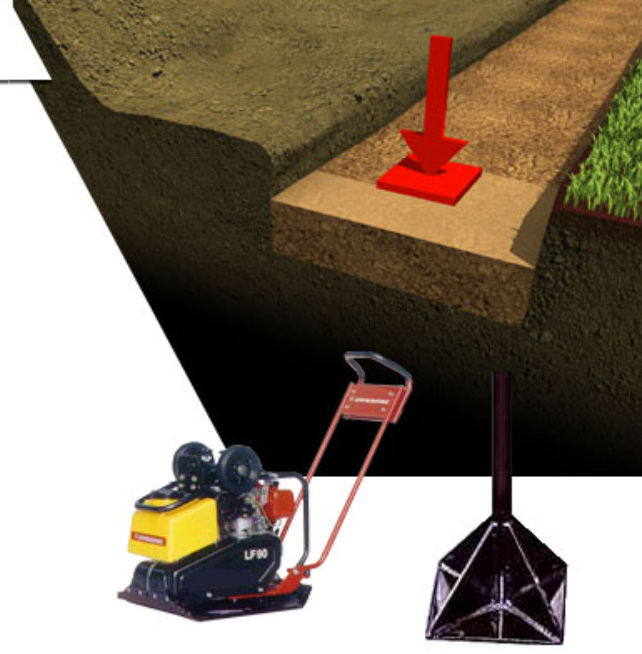
Place and spread crushed gravel—the same material used for road-base aggregate—into the excavated trench.
Compact the gravel to a smooth and level surface. This is usually done with a vibratory plate compactor. If desired, place a thin layer of sand on top of the pad for final leveling. The sand will help to adjust the level of the base-course units. When completed, the leveling pad should be at least 6 inches thick.
Make sure the pad is level. It’s easier to correct now before the units are placed. Check the level of the pad from front to back with a 1- to 2-foot level, and along the length of the pad with a 4-foot or longer level. Add or subtract material as needed.
Note:
If the grade in front of the wall changes elevation along the length of
the wall, always start your leveling pad at the lowest point and work
up. The leveling pad should be stepped up in 6-inch increments to match
the height of the Standard units. Step up often enough to avoid burying
more units than
are needed to maintain required embedment.
 Reminder: Be sure foundation soils are compacted before installing the leveling pad!

Alternative Installation Method
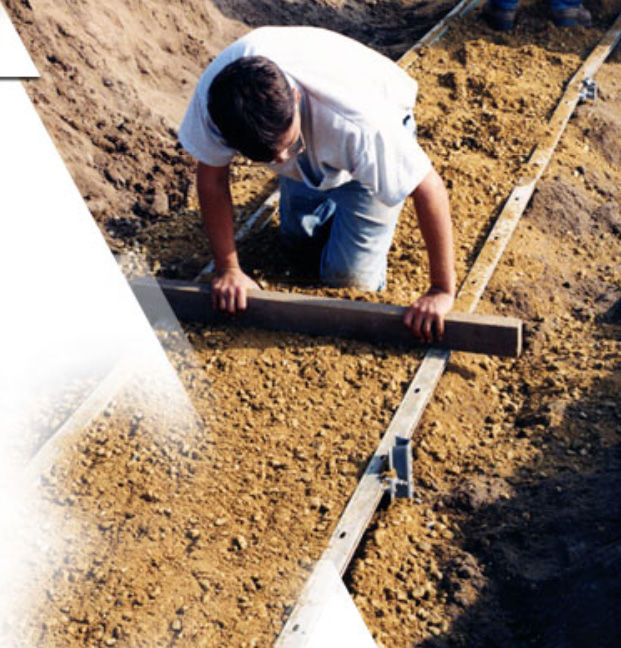
For long, fairly straight sections of leveling pad, leveled forms (screed rails) can be used to speed leveling-pad installation.
Stake and level two sets of rectangular metal tubing along the front and back of the planned pad location. Place gravel within the forms to the top of the forms, and then compact.
After compacting, place sand in the remaining space to just above the rails and then screed off the excess material.

